
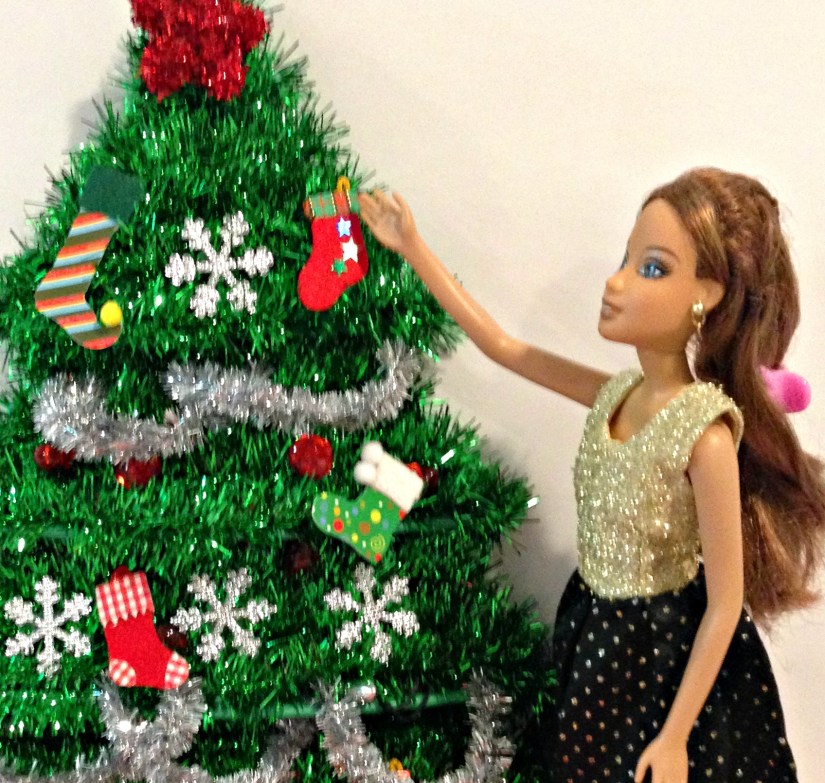
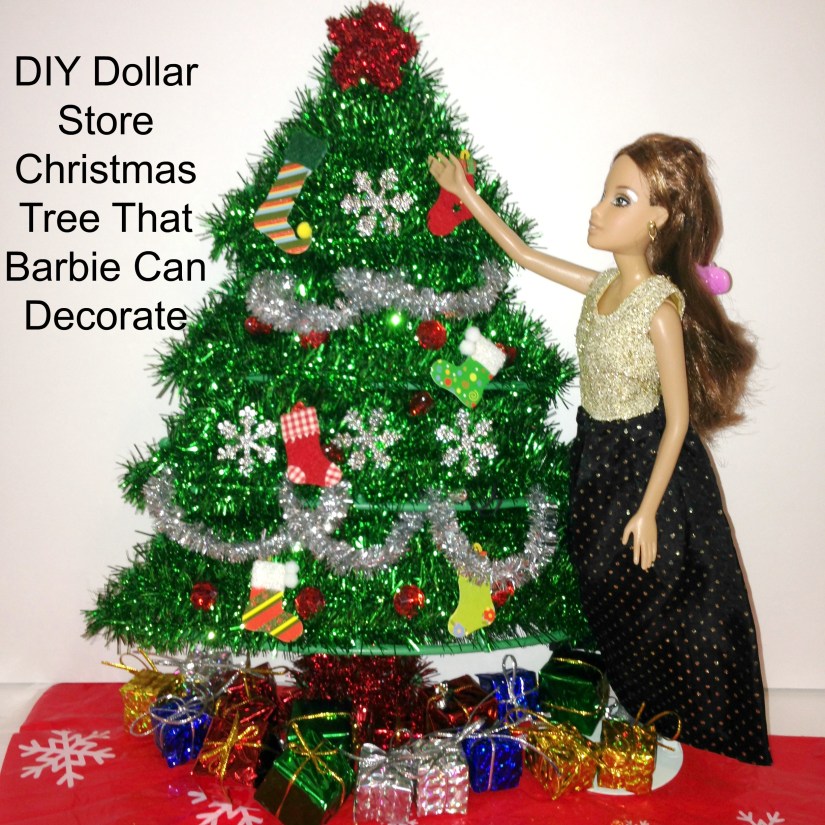
If you have a Barbie enthusiast this would make a great Christmas present! I saw this Christmas tree decoration in the Dollar store and knew it was a perfect size for Barbie. That got me looking around for what could go with it for decorations and I was amazed at what I was able to put together for under $12.00. The fun part about this is that you can put the kit together yourself and your little one can have fun with her Barbie decorating her own tree!
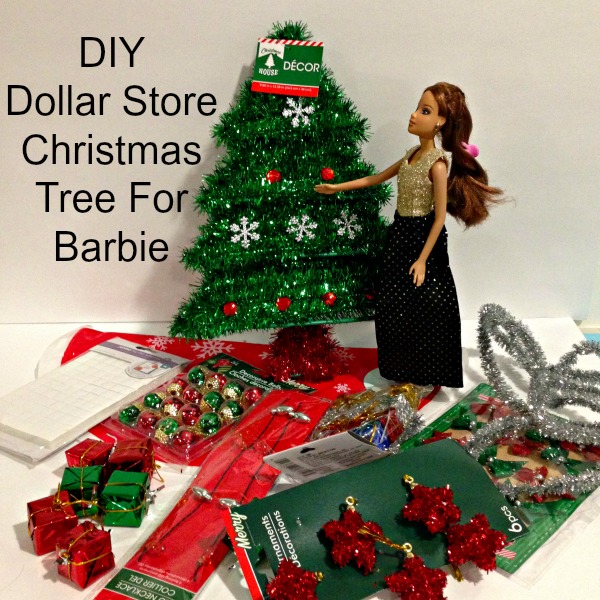

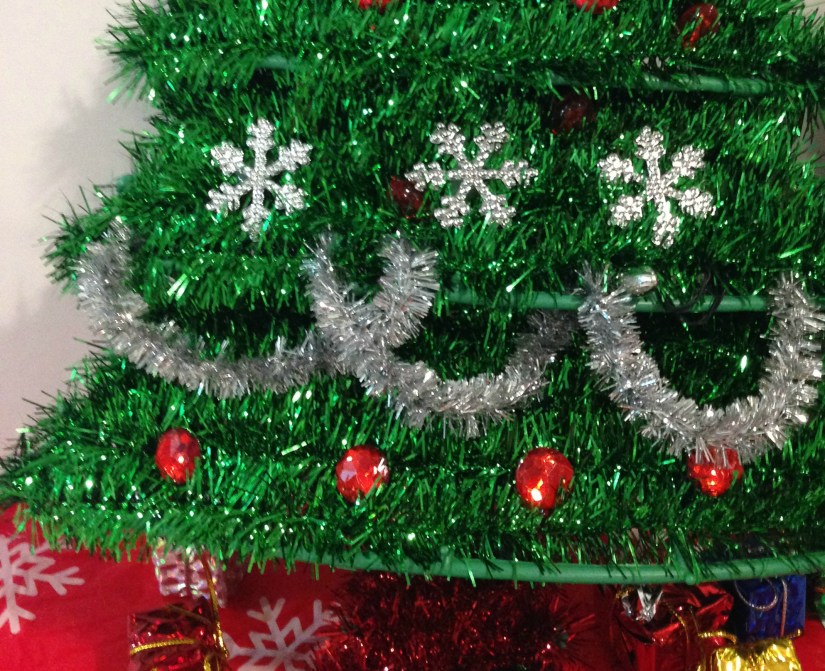
This tree is made from crisscrossing wire covered in garland tinsel. You can poke your finger right through between the tinsel and wire grid, each opening in the wire frame grid is hidden behind the tinsel and is about the size of the tip of your baby finger. This made it easy to attach lights and garland and it already has a few decorations on it!
Supplies
Tree Decoration (Dollar Tree)
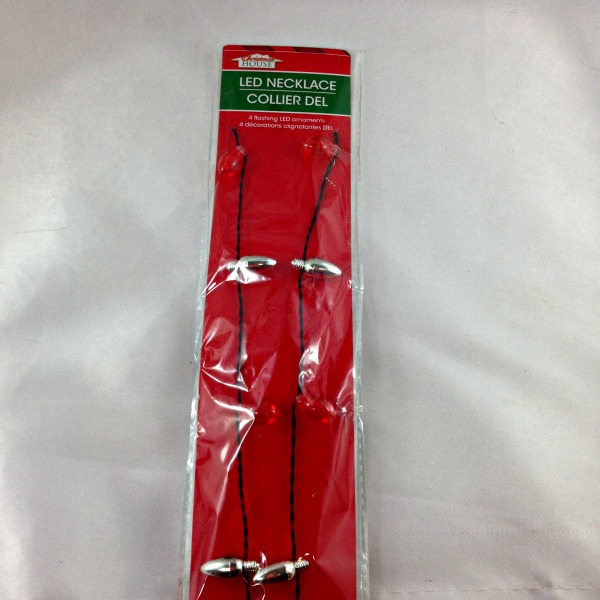
Blinking miniature light necklace (Dollar Tree)
Miniature garland (Dollar Tree)
Miniature presents (Dollar Tree)
Ornament for top of the tree (Dollar Tree)
Sticky back Christmas stickers (I found the ones I used at the reuse centre but you can buy them at the Dollar Tree)
STEP 1 – Lights
I started with the lights. I got this blinking necklace from the Dollar Tree and it works perfect for lights!
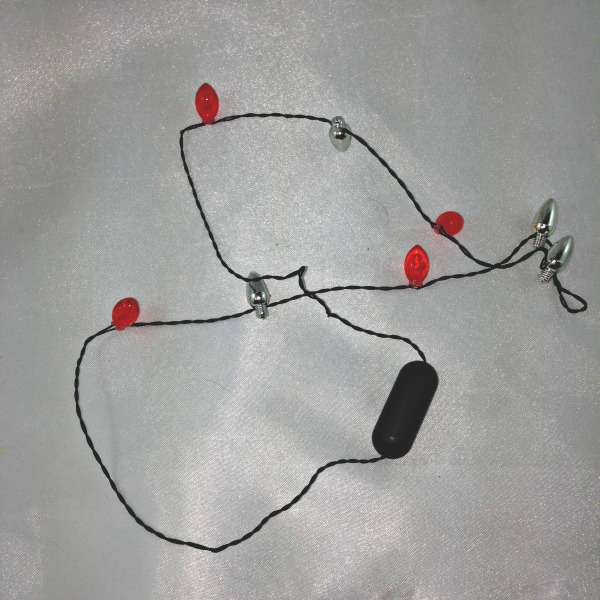
I simply placed them around the back of the tree and poked them through so they showed up on the front side. It took one minute to do. I was so happy, they were a perfect fit!

Step Two – Garland
I found this miniature garland at the Dollar Tree store and it’s exactly the right size for this tree. Again like with the lights, the wire grid frame makes it easy to decorate. I just poked one end through the wire grid and then continued to weave it through.

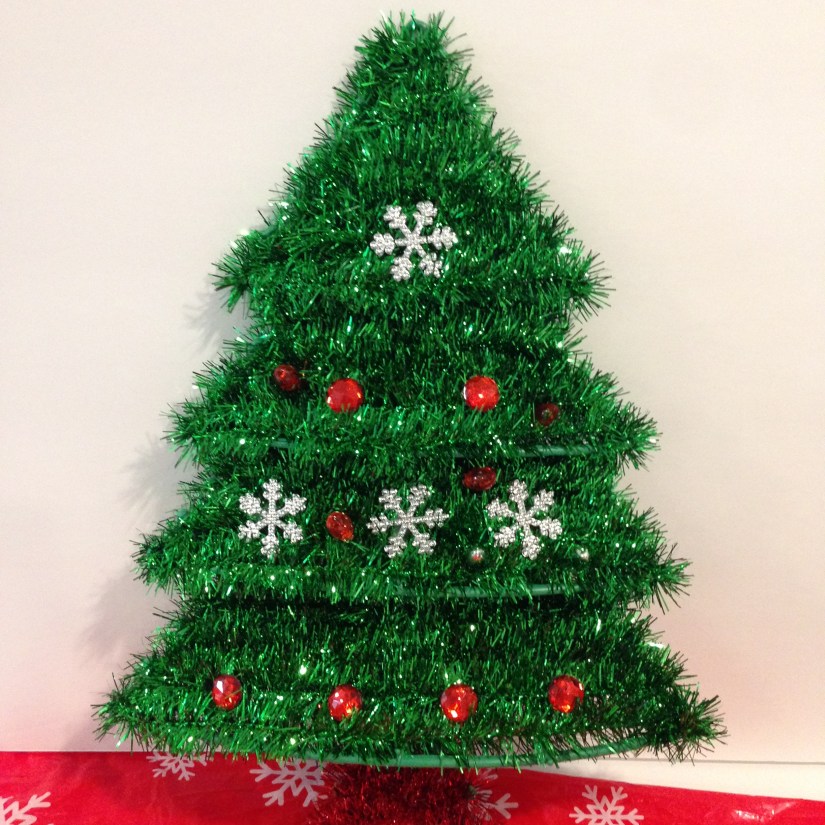
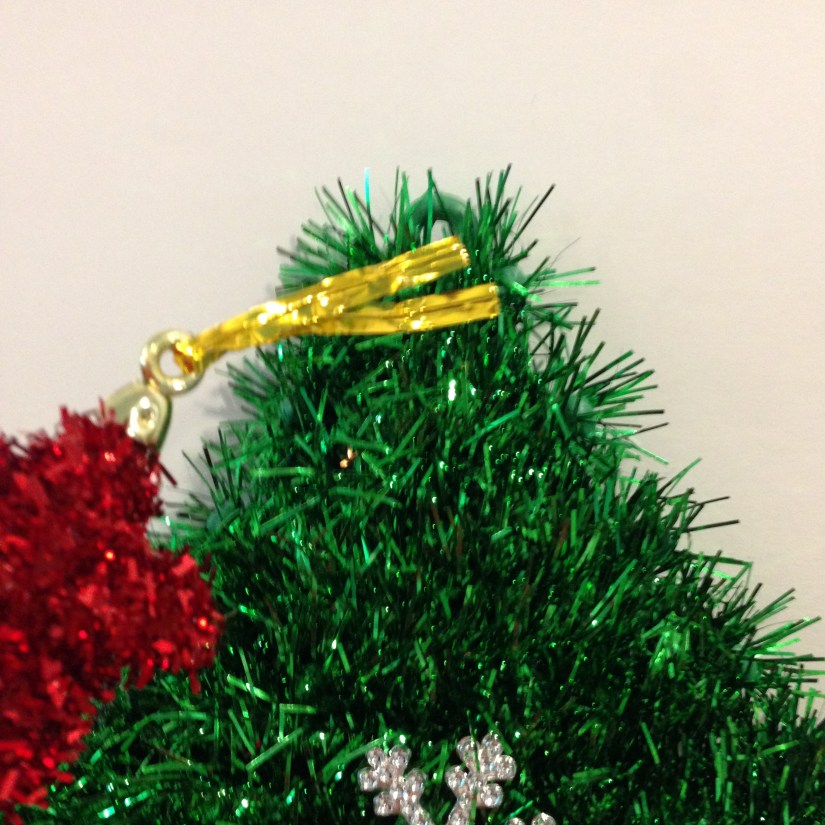
Step Three – The Tree Topper
I found these beautiful sparkling stars at the Dollar Tree. The tree itself has an opening at the top so you can hang it up and this works perfect with the star that has two long gold twist wires attached. I was able to slide the wires through, twist and done!

Step 4 – Decorations
Add some stick on ornaments! I had purchased some bells I thought would work as ornaments but they were too heavy and large so I had to scrap that idea for this tree but they worked great on another Barbie tree I have in the works. I went with the sticky back stickers and I was really surprised how well they stuck on to the tinsel and this would be very easy and fun for kids to do.

Step 5 – Presents
I found these wonderful bright colored miniature wrapped presents at the Dollar Tree and they are just the right size for under Barbie’s tree! Or your youngster could wrap up some of Barbies purses, shoes or other accessories in little boxes or just in paper so Barbie can actually open them.

In under 20 minutes for under $12.00 Barbie has a Christmas tree that your little one can enjoy decorating along with her favorite Christmas Barbie!
See More DIY Barbie Projects Here!


Great to hear – thank you!!
LikeLike
This is such a cute idea! My girls would LOVE it!
LikeLiked by 1 person
Thank you!! I have loved making Barbie things since I was a little girl – I saw this tree and went hmmmm and then it took off from there.
LikeLike
Thank you!! It’s something different and interactive things are always fun.
LikeLike
Thank you!! It was a fun project.
LikeLiked by 2 people
Thank you so much!
LikeLike
Very cute—and reasonable…even a child could do this safely!
LikeLiked by 1 person
This is SUPER CLEVER!!!!!!!!
LikeLiked by 1 person
So creative, any little girl would love this.
LikeLiked by 1 person
That’s so cool!! How do you come up with this stuff?! I would have never thought of that.😂
LikeLiked by 1 person